TileTracker the Battening System.

TThe TileTracker patented tiling system was designed based on a number of experiences.  This was from things like damage while working on walls and whats behind them like electrical wiring and pipe work when battening.

The other issues came from a change in the tiles available, especially with the size of tiles becoming bigger causing bowing and uneven work when allowing the work to set.

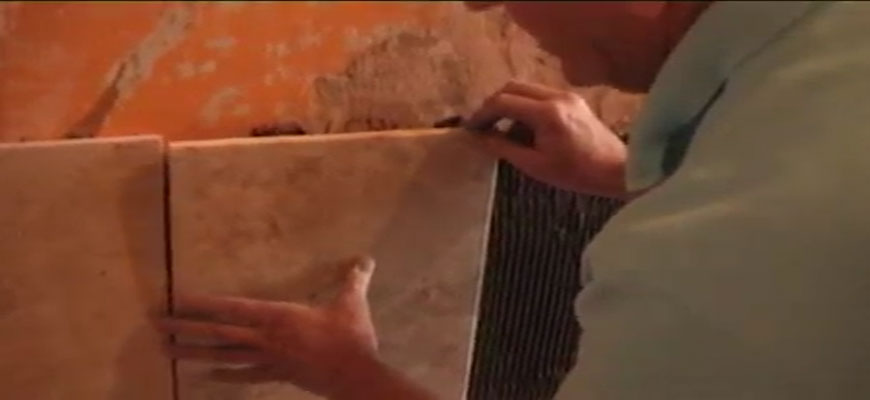
This system has provided for a solution to these issues and then some.  TileTracker prides itself on what it can do for safety, no more drilling in to walls, which now means not going through electrical wiring and pipe works. These can be very expensive to repair when it happens, but not anymore.

In addition to safety it also reduces waste, no more timber and screws to be bought anymore and thrown away after use.  Now there is a practical system, that is easy to use, setup and finish a job perfectly even if you might have got the start wrong.

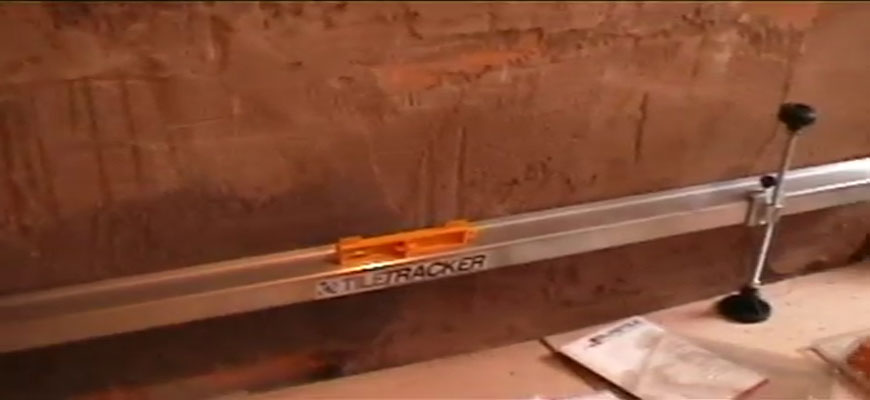
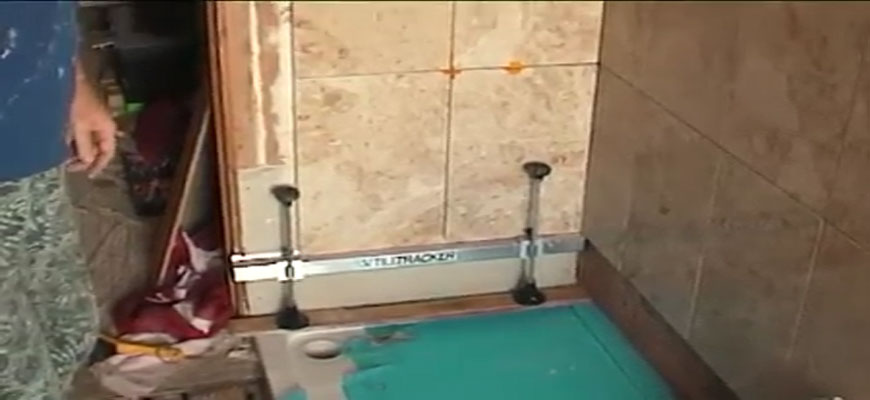
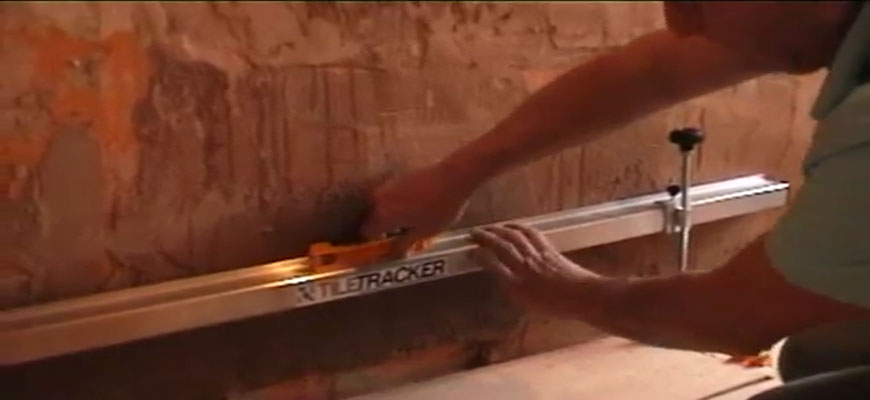
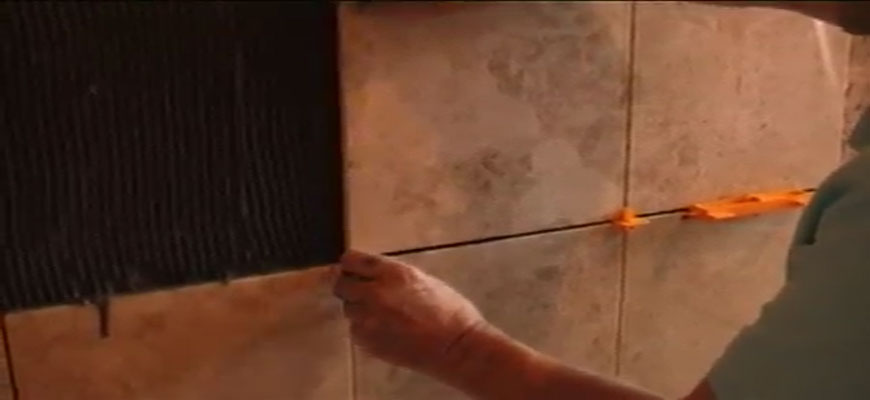
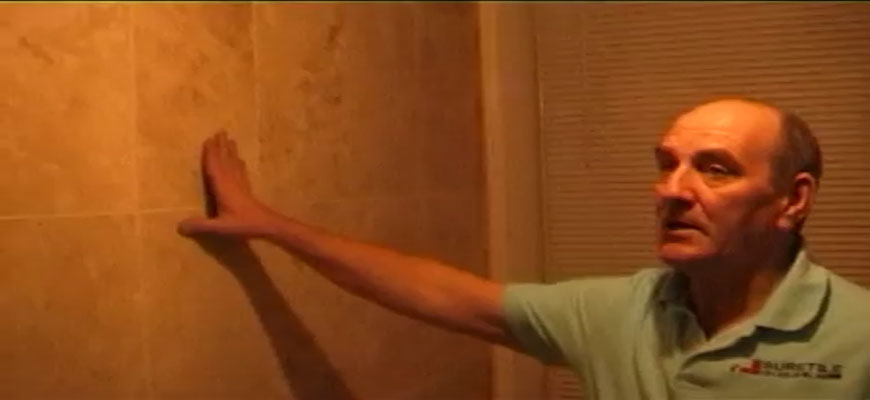
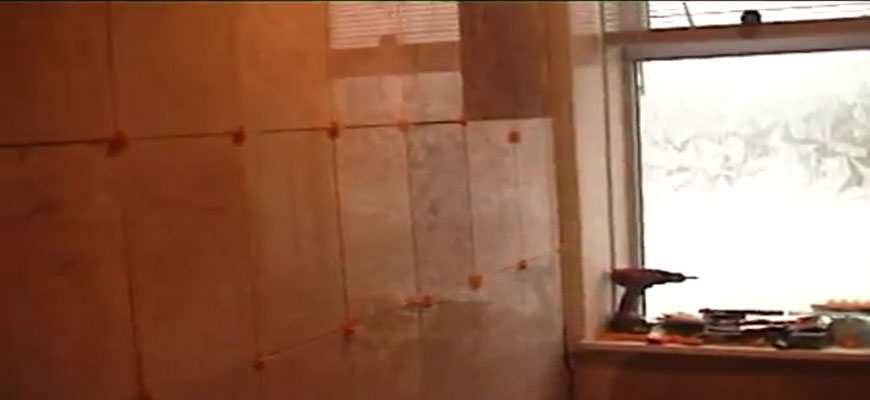
The TileTracker is so easy, you attach clamps, sit it against the wall, put a level on the rail and then adjust using the screw legs.  What happens if you forget to level it though and you already have a course or two of tiles on there? Simple, put your level on the rail infront of the tiles and adjust while wet.  Tests have shown that a whole wall can be shifted after being put up no problem.

TileTracker The System single batten.

Using The TileTracker Tiling System Step By Step

Using the TileTracker tiling system couldn’t be easier.  Simply follow these steps and you will be up and running ready to tile in no time.

1Once you have all of your walls ready and prepared as required and laid out for tiling, you are almost ready to begin. With the first TileTracker rail suitable for the wall length, run it from the centre marking out towards the corner at the required height from the floor. Do the same across your other wall from the corner so that both rails meet accordingly.

TileTracker Step by Step - Step 1.

2Place a spirit level in the centre of each rail and using the precise adjustable handles to alter the height at each end of the rail.  Do this one by one until you have them correct.  It is worth spending a little extra time getting this right, but they can still be adjusted with courses of tiles setup already while the adhesive is still wet.  Just in case you make a mistake.

TileTracker Step by Step - Step 2.

3From the centre line now you can start tiling out towards your corner with the planning done before step one. When you get to your corner it may require you to cut your tile with a tile cutter to the required width to fit, unless you are lucky enough to have a wall that works perfectly with your tiles.

TileTracker Step by Step - Step 3.

4Now you can firmly press your tile in to the adhesive and use a tile spacer (UNIPLUG) to create the required spacing between each of your tiles. Once your first course of tiles are in place, you can safely move on to the next leaving the batten in place and continue right up to the roof edge.

TileTracker Step by Step - Step 4.

Using the TileTracker tiling system is as easy as following those four steps above no matter the room size.

WARNING: Though the TileTracker Tiling Battens provide the battening support, drying times for setting are still to be followed by the Adhesive manufacturer.  This can be up to 24 hours or longer so don’t forget to plan this one in.

The TileTracker Available Lengths

The TileTracker Battens come in a variety of different lengths which will assist with tiling a room of various sizes and situations.  This includes tight corners and tiling around a bath.  The TileTracker comes in lengths of; 0.5 m, 0.75 m, 1.0 m, 1.5 m, 1.75 m, 2.0 m, 2.5 m and 3 m lengths.

TileTracker different batten lengths.

Video Tutorials

Day 1 – Preparation & Bonding

Day 1 – Preparation & Bonding

Using the Tile Tracker System and tools, day one of your project using the equipment informs you of how to prepare your walls for [read more]

Day 2 – An Introduction To The Tools

Day 2 – An Introduction To The Tools

Using the Tile Tracker System and tools, day two of your project using the equipment and tools. [read more]

Day 2 – Knowing Your Materials

Day 2 – Knowing Your Materials

Using the TileTracker System and tools, day two of your project using the equipment informs you of how to prepare your walls for tiling, [read more]

Corner Plugs And The 0.75 m Tracks

Corner Plugs And The 0.75 m Tracks

The Corner Plugs or Universal Spacers (UNIPLUG) are used not only in cross sections of tiles, but at corners as well. When using these [read more]

Day 2 – Preparation & Bonding

Day 2 – Preparation & Bonding

Using the Tile Tracker System and Suretile tools, day two of your project using the equipment informs you of how to prepare your walls [read more]

Day 2 – Adding Or Moving The Tile Tracker System

Day 2 – Adding Or Moving The Tile Tracker System

Moving The Tile Tracker System to complete the rest of the wall. [read more]

Day 2 – Applying Adhesive

Day 2 – Applying Adhesive

Using the Tile Tracker System and Suretile tools to apply adhesive to a wall correctly. [read more]

Day 2 – Starting To Tile

Day 2 – Starting To Tile

Using the Tile Tracker System and tools, to begin your first course of tiles on a wall. [read more]

Day 2 – Adding A Second Course Of Tiles

Day 2 – Adding A Second Course Of Tiles

Using the Tile Tracker System and Suretile tools to add a second course of tiles. [read more]

Day 2 – Working Between A Door On An Opposite Wall

Day 2 – Working Between A Door On An Opposite Wall

The advantage to The Tile Tracker System is that you not work faster and more efficiently, but safely as well. You no longer need [read more]

TileTracker Removal And Re-Use

TileTracker Removal And Re-Use

It is easy to remove the system from the wall, simply turn the adjustable legs anti-clockwise to lift them up to approximately 1 cm [read more]

Day 3 – The End Of A Hire Period

Day 3 – The End Of A Hire Period

Results at the end of a hire period after the customer had finished his tiling project. [read more]

Day 3 – End Of Hire Period On-Site Training

Day 3 – End Of Hire Period On-Site Training

After one day of tiling the hire customer completes 8 square meters of tiling which even some professionals would struggle to achieve. [read more]

BUY YOUR TILING SYSTEM SOLUTION TODAY

SAVE TIME, BE SAFER AND MAKE EVER JOB LOOK ASTONISHINGLY GOOD AND PERFECT